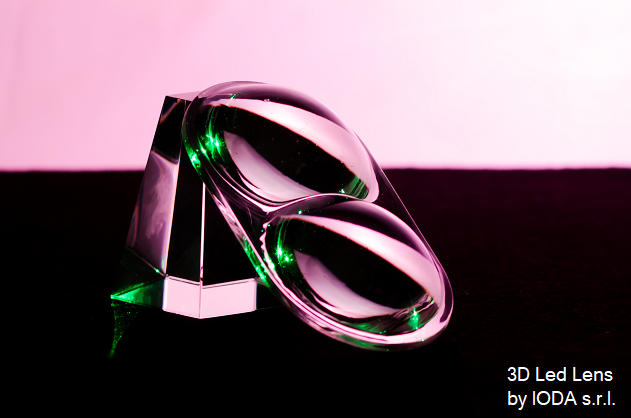
Using rapid prototyping process to create and test new lens geometries allows you to launch your product on the market before the competitors. How is this possible? With 3D printing it is easier and faster making changes to the lens design, considering also a significant reduction of the development costs involved .
It is the mold, or rather, the “master” to be produced with 3D printing technology, the mold with which the lenses in REVO-01 polyurethane material will then be made.
IODA has developed a process which allows the production of REVO-01 lenses (polyurethane material. Link to REVO-01 )using a mold produced with 3D printing technology.

The development of a new lens is divided into the following steps:
Phase 1: Optical calculation
In this phase the lens is designed complying with the needs of the lighting application, IODA makes use of a dedicated software for optical calculations in order to guarantee the correct angle of the light distribution.
In the development we also consider important parameters such as the type of LED used, the distance between the lens and the LED and the dimensional constraints required.
Step 2: Creating the STL file
It is a preliminary phase to the actual prototyping and consists in the generation of the STL file and its verification.
The STL file (Standard Triangulation Language To Layer) is a graphic standard that describes the object by decomposing the surfaces that compose it into triangles.
In practice, the surfaces of the piece are meshed with triangular elements.
Approximately the number of these triangles is the greater the better you want to approximate the surface.
The STL standard was initially developed by “3D Systems” and is currently the standard accepted by almost all rapid prototyping systems on the market.
Phase 3: Construction of the “Layer by Layer” prototype
It consists in sending the STL file or the slices to the machine, depending on the prototyping machine model, and proceeding with the deposition of the material layer by layer up to the final object.
This phase can last a few hours depending on the size of the object, in particular the height, therefore an accurate choice of orientation is important both for the surface finish and for reducing machine times.
Phase 4: Post treatments
In this phase IODA has invested a lot of resources developing the production process called “3D OPT_1”.
Thanks to this technology it is possible to eliminate the “texture” that characterizes the printed objects in order to obtain shiny and regular optical surfaces without deformation compared with the original CAD drawing.


 Italiano